How to Start a Clothing Brand
You have a dream to start your own clothing line. It makes it possible for you to transform your concepts into actual products that people will wear and love. But success also takes creativity, good business planning and, crucially, knowledge of how to make clothes. Minor mistakes can be very expensive on this trip. We have assisted many brands for success at ChengLin Clothing. Our step-by-step guide will walk you through taking an idea sketched out on a piece of paper to being a sellable brand. We’ll cover ten essentials: finding your market, building your brand, planning your business, designing clothes, finding a maker, setting prices, creating your store, and launching your brand.
Step 1: Define Your Niche & Target Audience
Before you create anything, you need to know who you’re selling to. This is the biggest thing that all new brands need to do.
Why a Niche is Non-Negotiable
The market for clothes is super saturated. You can’t please everyone or you’ll please no one. Specialization is how you differentiate. It allows you to create a community that is loyal and makes your marketing more effective and cheaper. The global apparel market is worth trillions of dollars. Without a clear focus, your brand will get lost in the crowd. A niche gives you a unique voice and a specific problem to solve.
How to Identify Your Niche
Your niche is where a particular market intersects with your unique view of the world. Here are questions you should ask yourself in order to identify your ideal client base:
- What problem are you solving? Think beyond just “clothes.” Are you making eco-friendly office wear, clothes for people with disabilities, or streetwear for smaller body types?
- What passion or community can you serve well? Are you a rock climber, a fan of simple design, or a vintage fashion lover? Serve a group you understand.
- Who is your ideal customer? Create a simple profile. Give them an age, location, interests, and values. What matters to them?
- What are the latest fashion industry trends, and how can you offer something different? Don’t just follow trends; make them work for your specific audience.

Step 2: Solidify Your Brand Identity
Now that you’ve determined your niche, it’s time to establish your brand’s personality. It’s your brand identity that forms an emotional connection with customers.
More Than Just a Logo
Your identity is an entire system that represents who you are as a person. It includes:
- Mission & Vision: The “why” behind your brand. What do you stand for?
- Brand Name: It must be easy to remember and say, available as a website. also the brand name must relate to your field.
- Visuals: Your logo, colors, and fonts. These should be the same everywhere.
- Voice & Tone: How do you sound? Are you funny and bold, or inspiring and technical? This applies to your website text, social media posts, and customer emails.
Building Your Identity Kit
To stay consistent, create a simple brand guide. This framework will guide all your decisions, from tag design to Instagram posts. Building a strong brand identity requires all these elements to work well together.
Brand Element | Description |
Mission | e.g., To create high-performance, sustainable activewear for the modern urban athlete. |
Values | e.g., Sustainability, Inclusivity, Quality, Performance. |
Voice | e.g., Empowering, technical, and friendly. |
Keywords | e.g., Eco-friendly, durable, modern, minimalist, performance-driven. |
Step 3: Draft a Realistic Business Plan
A business plan turns your creative ideas into a workable financial and operational strategy. It doesn’t need to be very long. Think of it as your roadmap to success.
Your Roadmap to Success
Your plan makes you think carefully about every part of the business. Be honest, especially about costs. Include these key parts:
- Executive Summary: A short, one-page overview of your entire business.
- Company Description: Your niche, mission, vision, and legal structure (e.g., sole proprietorship, LLC).
- Market Analysis: Detailed research on your target audience, competitors, and what makes your brand unique.
- Products & Services: A clear description of your initial product line.
- Marketing & Sales Strategy: How you plan to reach customers and make sales.
Financial Projections: The most important part. List your startup costs (samples, manufacturing, website, marketing), your pricing strategy, and your expected revenue for the first 1-3 years. Creating a comprehensive business plan is a vital exercise that will guide your decisions and can help get funding if needed.
Step 4: Design Your Collection & Create a Tech Pack
This is where your creative designs come to life. It needs to be artistic as well as scientific to get the vision done right!
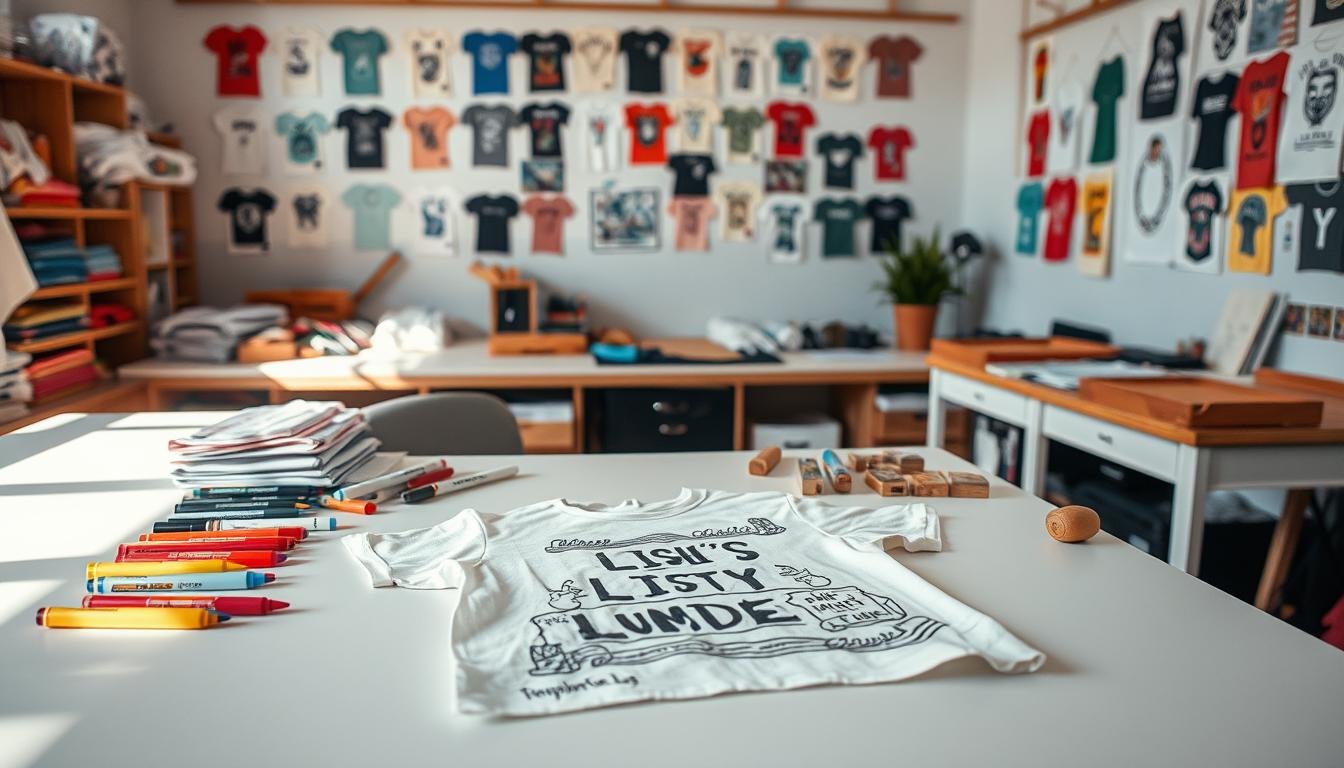
From Mood Board to Mockup
Start with inspiration. Use sites like Pinterest to make up detailed mood boards, or tear out pages from magazines and pick up fabric samples. Sketch your designs. You don’t have to be the next greatest artist. It’s really about getting a clear look to the shape, seams, trim, overall style and features of each piece. Finally, take your sketches into digital mockups, whether you use Adobe Illustrator or Procreate. This helps you see the end result and will support the work you do in the beginning to market it.
The Single Most Important Document: The Tech Pack
If there’s one piece of advice from a manufacturer you’ll want to follow, it’s mastering your tech pack. Tech pack is a blueprint for your product. It’s a highly technical piece that tells the factory exactly how to make your garment. A great tech pack helps you avoid mistakes, gets you an accurate price quote and avoids misunderstandings. A poor tech pack, or a tech pack that is not comprehensive enough, is the most common reason for receiving bad samples, wasting money and suffering production delays. A tech packs professionals tech pack should contain the below points:
- Cover Sheet: A clean, flat sketch of the garment (front and back) with callouts for specific details like stitching, zippers, and buttons.
- Spec Sheet (Specification Sheet): A table with exact measurements for every part of the garment across your entire size range (e.g., chest width, body length, sleeve length) and the acceptable tolerance for variance (+/- cm).
- Construction Details: Written and visual instructions on how the garment should be assembled. This includes stitch types (e.g., overlock, flatlock), hem finishes, and instructions for any special placements.
- Bill of Materials (BOM): A complete list of every single material required. This includes main fabric type and weight (e.g., 220 GSM 100% cotton jersey), ribbing, thread, buttons, zippers, drawcords, and all labels (brand, care, size).
Colorways & Artwork: The exact Pantone codes for each fabric color and thread. If you have a print or embroidery, you must include its precise dimensions and placement on the garment.
Step 5: Choose Your Production Method & Find a Partner
This is your most important supply chain decision. The industry right partner will turn your vision into reality, high-quality and reliable. Choose the wrong one, and it can torpedo your brand before it even gets off the ground.
Understanding Your Manufacturing Options
There are three main models for clothing production. Choosing the right one depends on your budget, design complexity, and business goals.
Model | Best For | Pros | Cons |
Print-on-Demand (POD) | Testing designs with zero inventory, artists, influencers. | Extremely low startup cost, no stock risk, wide product variety. | Low profit margins, limited customization, inconsistent quality control, can’t build a premium brand. |
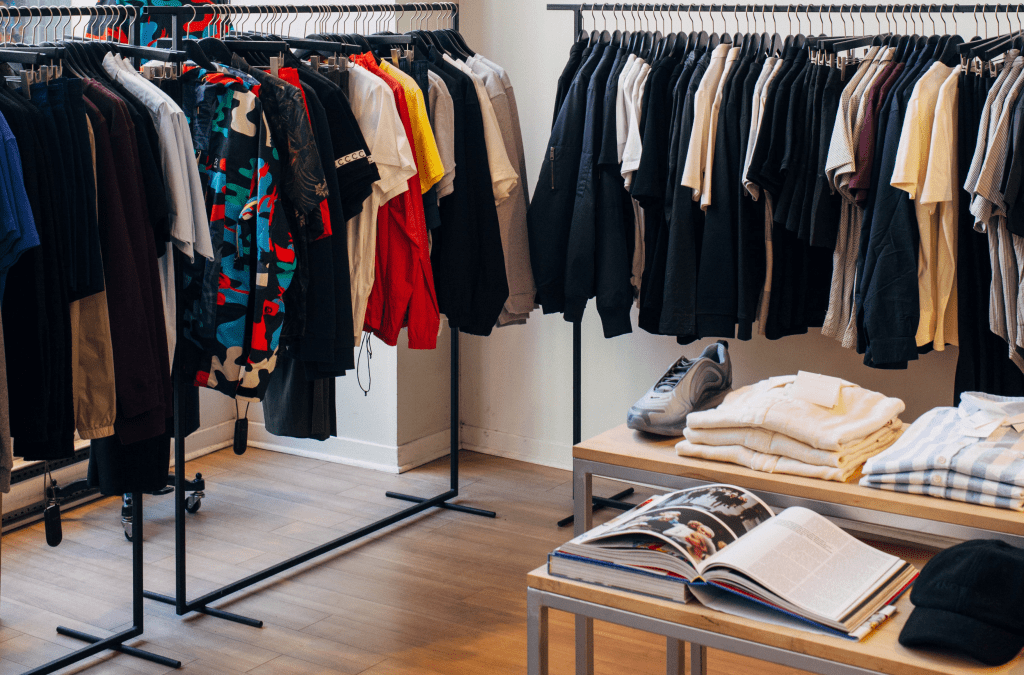
Private Label | Quickly launching a brand using pre-made, proven styles. | Faster to market, lower design & development cost, pre-tested fits. | Limited originality, you’re using the same base garments as others, tied to manufacturer’s stock. |
Cut & Sew (CMT/FPP) | Brands with unique, custom designs from scratch. | Full creative control, ability to build a unique brand, high-quality potential, you own the intellectual property. | Higher initial costs and MOQs, longer lead times, requires a professional tech pack. |
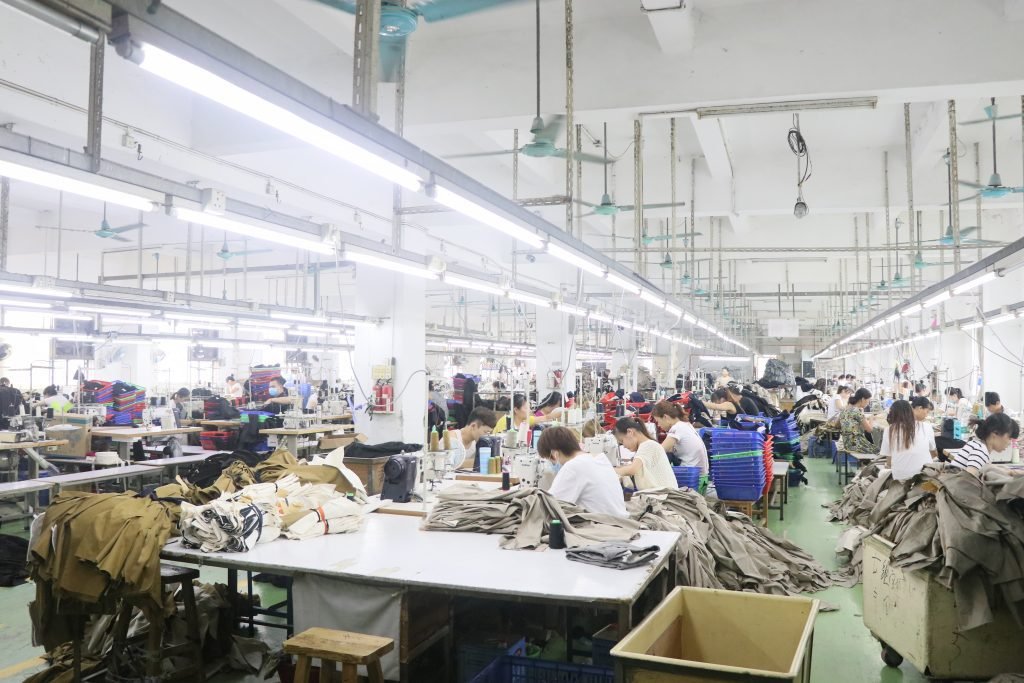
How to Vet a Manufacturing Partner: A Manufacturer’s Advice
From working with hundreds of new brands from ChengLin Clothing to be precise, we’ve learned that for us, the right partnership is about a lot more than the lowest price. Cheap is expensive to the budget of poor quality goods. When you are dating someone, ask these critical questions:
- Specialization: Do they have proven expertise in your product category? A factory that excels at activewear may not be the best choice for delicate silk shirts. Ask to see examples.
- Minimum Order Quantities (MOQs): Do their minimums fit your budget? For Cut & Sew, MOQs are a reality. Ensure they align with your business plan.
- Communication: Are they responsive, professional, and fluent in your language? Do they understand your tech pack and ask clarifying questions? Poor communication is a major red flag.
- Quality & Craftsmanship: Request samples of their past work. Better yet, pay for a sample of your own product. Inspect the stitching, fabric quality, and finishing.
- Transparency: Are they open about their process and sourcing? Committing to ethical and transparent sourcing is not just good ethics; it’s a powerful story for your brand.
Step 6: Pricing Your Products for Profitability
There’s an art to a price, and a science. Below a certain price, you won’t have a business. If your price is high, you won’t have bought. You have to price to make a profit, sustain, from day one.
The Basic Formula
You could start by using an industry standard formula for pricing. First, calculate your Cost of Goods (COG). This is the per-unit cost to have the finished product in your hands. It includes manufacturing, fabric, trims, labels, packaging, and shipping to your warehouse. The basic formula is: COG x 2 to 2.5 = Wholesale Price. And then: Wholesale Price x 2 to 2.5 = Retail Price. This is called a “keystone markup”, and will ensure that you have enough margin to cover costs, provide for discounts and ultimately sell to retailers.
Factors to Consider Beyond the Formula
Your final price will be influenced by more than just a formula.
- Cost of Goods (COG): Leave no stone unturned. Factor in all costs of the physical product. But, read the fine print, and don’t forget to consider the cost of initial samples.
- Perceived Value: What is the value of the materials and how you are putting them together? How compelling is your brand story? A premium brand with a unique mission can charge a premium, of course.
- Competitor Pricing: Look at how much your competitors are selling comparable quality products in your niche. You don’t have to be the other one, but you have to position yourself in the market.
Overhead: Your price should ultimately also help cover all of your other business expenses, including website hosting, marketing, photography and paying yourself.
Step 7: Set Up Your Online Store
Your web site is your world class storefront. It should be professional, credible, and aimed at converting site visitors into customers.
Choosing Your Platform
For most startup businesses, however, an all-in-one e-commerce platform is the way to go. Shopify is the leading platform for good reason – it’s powerful, yet flexible, and there’s a massive ecosystem of apps and add-ons available to help you to scale your business. Alternatives include BigCommerce and Squarespace.
Essential Elements of a High-Converting Store
Focus your energy on these four critical areas:
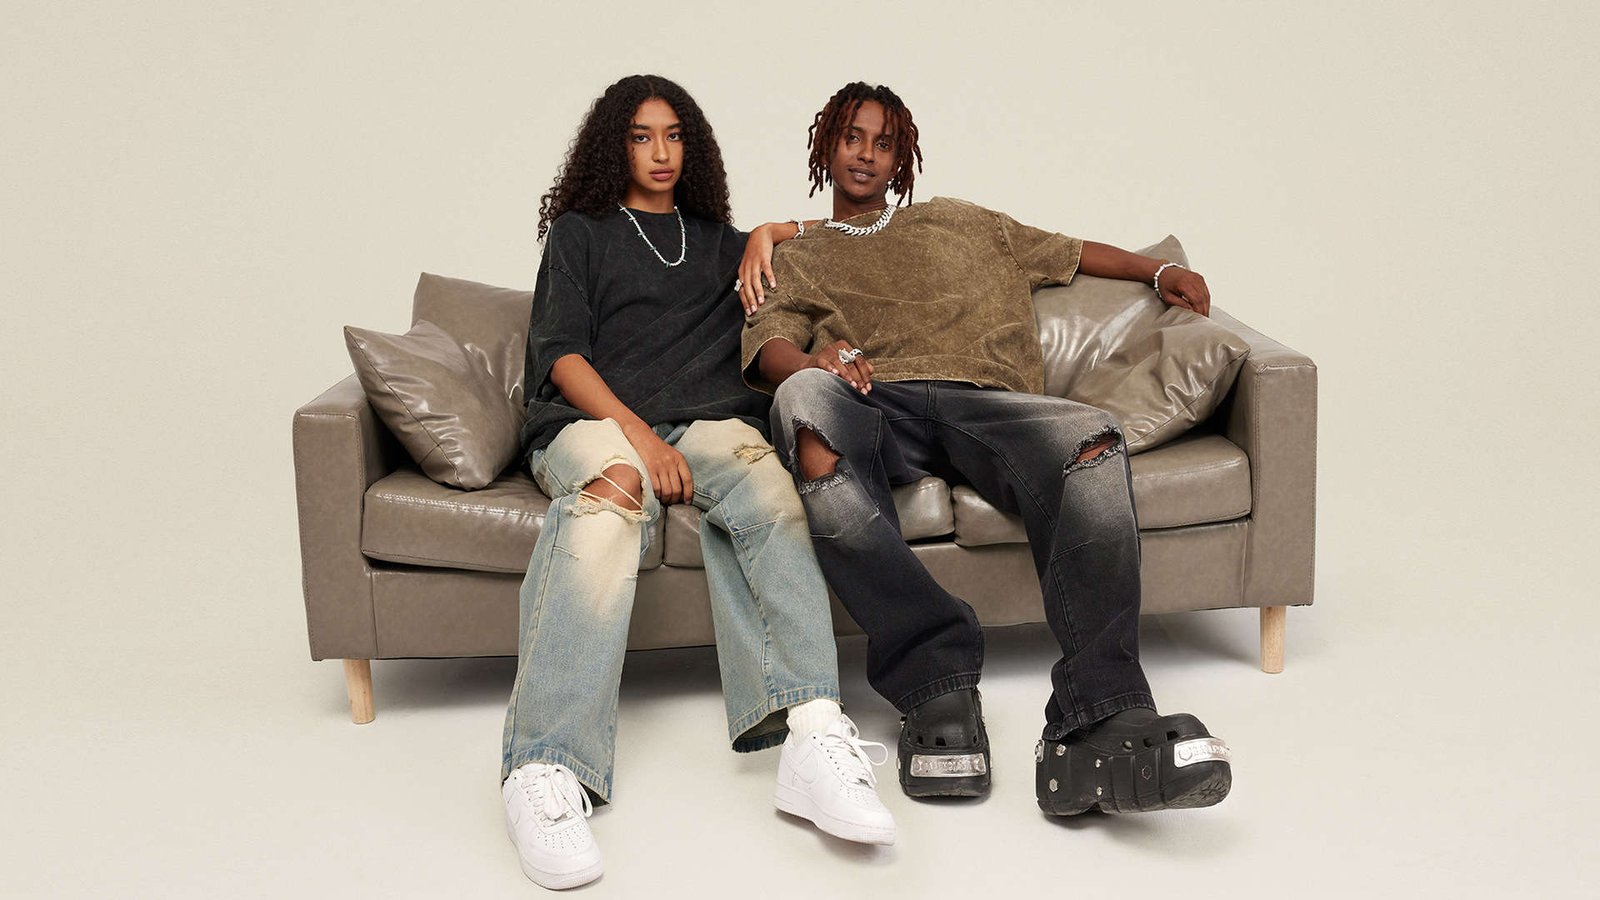
- High-Quality Product Photography: This is the single most important element of your store. Invest in professional photos. Show the product on a model (ideally reflecting your target customer), detailed flat-lay shots, and close-ups of fabric and hardware.
- Compelling Product Descriptions: Don’t just list specs. Tell the story of the product. Describe the feel of the fabric, the details of the fit, and how it will make the customer feel.
- Clear Navigation & Mobile-Friendly Design: Most of your customers will shop on their phones. Your site must be fast and easy to navigate on a small screen.
Easy Checkout Process: Make it as simple as possible to buy. Offer multiple payment options and minimize the number of steps required to complete a purchase.
Step 8: Create a Launch & Marketing Plan
A great product doesn’t sell itself. You have to have a well-thought-out plan to get people excited to come to your new store from the very first day.
Building Hype Before You Launch
Your marketing needs to be live months before your store does. Take your audience on the journey. Share behind-the-scenes content — use Instagram or TikTok to throughout your process: sketching, sourcing a fabric, the arrival of your first sample, etc. That develops a true relationship and a core of fans who want to buy on launch day.” Your email list is the single most valuable asset you can build. Craft a basic “coming soon” homepage and give an exclusive launch-day discount, or early access, in return for their email.
Your Go-To-Market Strategy
For launch day and beyond, concentrate on a few key channels:
- Social Media Marketing: Be active on the one or two platforms where your target audience spends their time. Work with micro-influencers who truly align with your brand’s values. User-generated content is your most powerful tool.
- Content Marketing: Start a blog or a video series that provides value to your audience. Show different ways to style your clothes, explain the sustainable materials you use, or tell the story behind your brand’s mission.
- Paid Ads: Once you have some initial sales data and know which products are popular, you can begin experimenting with targeted ads on platforms like Instagram and Facebook to reach new customers.
Our Classes
Your Journey Starts Now
TAKE THE FIRST STEP.
WE WILL DO THE REST.
You’ve followed the whole journey, from a niche idea and a robust brand identity to a strong tech pack and a tactical launch plan. Building A Clothing Brand Is A Marathon, Not A Sprint. It requires passion, determination and an almost fanatical attention to detail. Everything starts with two things: a good product and a powerful, trustworthy manufacturing partner able to bring your vision to life seamlessly. Launching a clothing line is difficult but satisfying not trip. When you are ready to transition from a tech pack to a perfectly executed product, a reliable partner is your most treasured asset. Contact us at ChengLin Clothing to discuss how we can help bring your vision to life.
FAQ
ask us
anything
How much money do I need to start a clothing brand in 2025?
Starting costs range wildly: 500-1,000 for print-on-demand, 5,000-10,000 for private label, and $10,000-25,000+ for a custom cut-and-sew fashion line with unique patterns or designs.
What's the most important first step when starting a clothing brand?
And defining your niche and your target market is important. The world of clothing is very crowded, so it’s important to have a clear focus on what you do best and with whom, it will help you break through and build a loyal customer base.
How do I find a reliable clothing manufacturer for my brand?
Find clothing manufacturers who have experience in your type of product, MOQs you can work with, who play nice, deliver quality work, and are light on their feet – in terms of, they tell you everything and nothing about what they’re doing and where they’re sourcing it.
How do I choose between screen printing, DTG, and embroidery for my streetwear designs?
Screen printing works best for bold graphics with few colors, DTG is ideal for detailed/colorful designs, while embroidery offers a premium textured finish perfect for logos and small elements.
What's the best pricing strategy for a new clothing brand in 2025?
- Use the formula that a lot of the industry uses Cost of Goods x 2-2.5 = Wholesale, then Wholesale x 2-2.5 = Retail. Factor in perceived value, what competition charges, overhead costs too.